I saw a rather rustic rocking chair at my brother’s home in Grass Valley, CA. The lines attracted me, so I took some pictures and dimensions and decide to try my hand at designing and building one. Below are pics of the original chair and my final SketchUp drawing.


The first step was to build a mock-up out of plywood. This was a good plan as, once together, the chair was seriously out of balance. Searching the internet, I found a short video that explained how to find a rocking chair’s center of gravity. It took a lot of experimentation to get the position of the seat & back to a place where sitting in the chair was comfortable.

Milling the Rockers
To mill the rockers, I needed to know their dimensions and the radius of the compass required to draw the arc. The dimensions came from the original chair (see SketchUp drawing below) and the radius calculation was accomplished with the help of this website. The result was a radius of 39 inches. Below is also a picture of the simple compass built with a 39 inch arm.


After drawing the first arc, the compass was moved up 2 inches and the second arc was drawn. The rocker was rough-cut on a bandsaw and then sanded to final dimensions using an oscillating belt sander and hand-sanding as well. It’s crucial to sand a smooth curve. It’s equally crucial that the rockers be identical, so the second rocker was milled on a router table using the first rocker as a template.

Here are a few more pictures of the build.

Through mortises for the arm rests
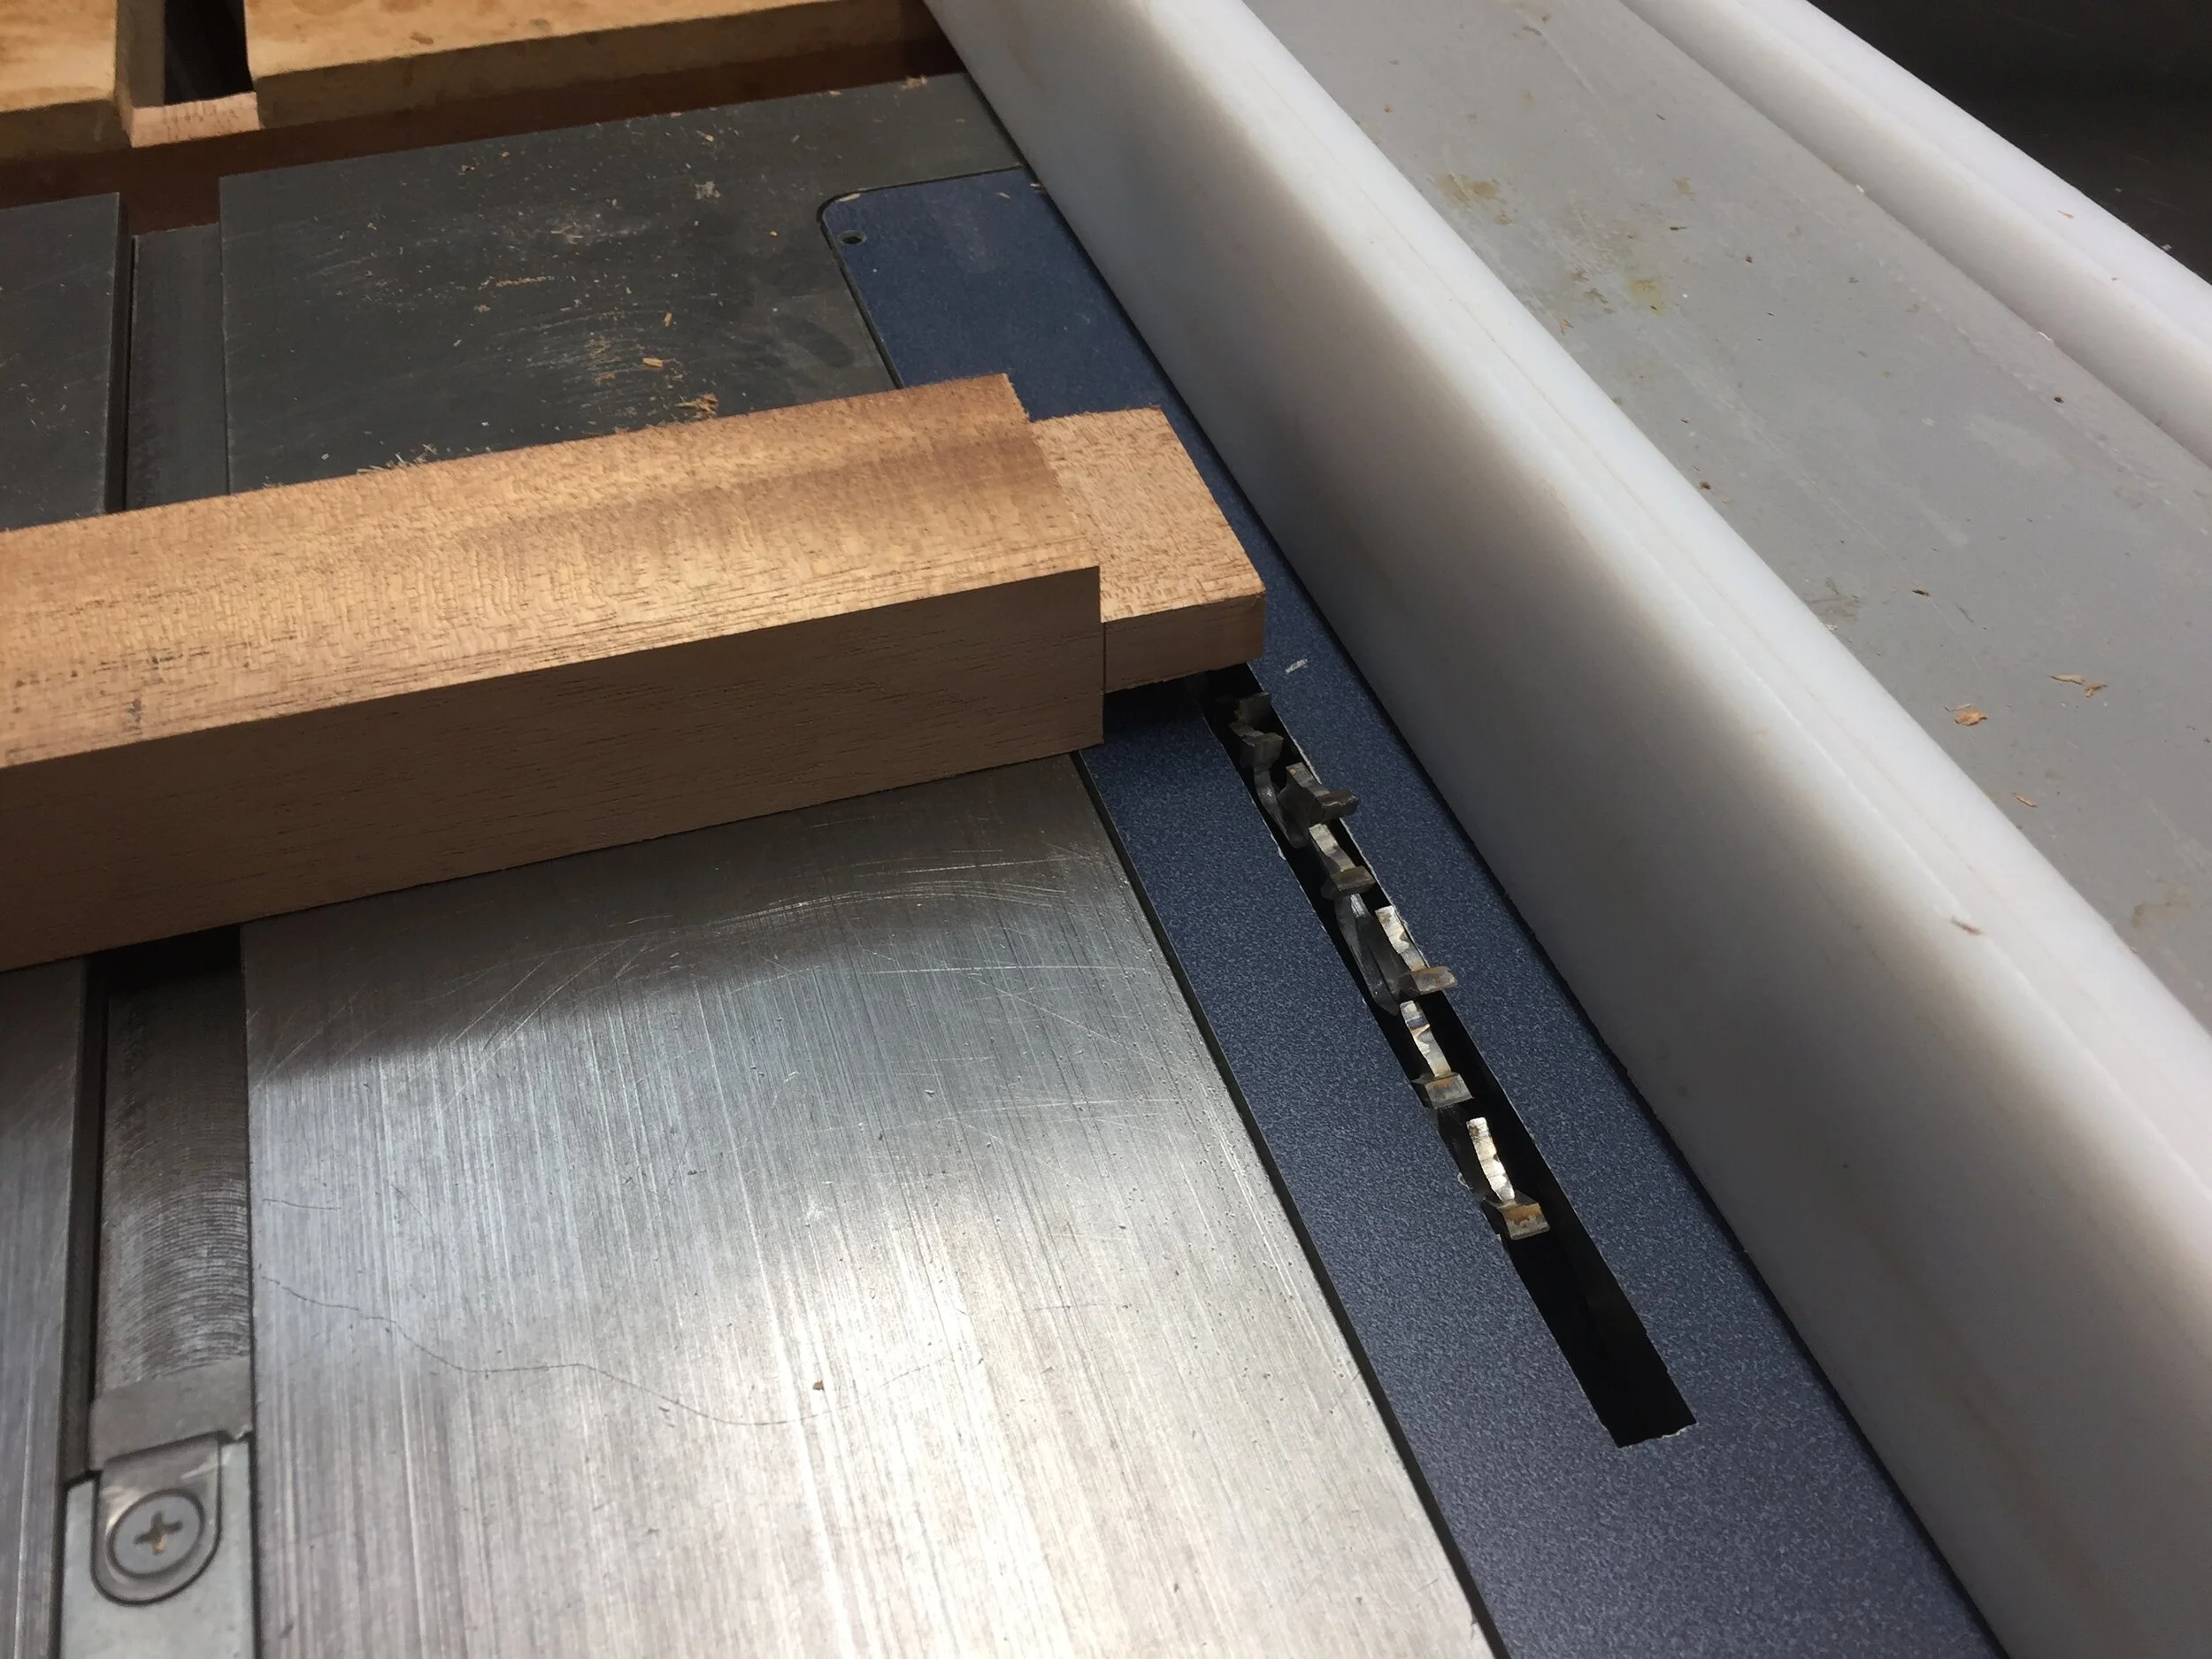
Tenons cut on a table saw with a dado blade.


Half-lap joinery was used for the rest of the frame.

First complete dry assembly.
Since I’m going for a modern look, most of the edges will be beveled.

Slats and stretchers for the seat and back have been beveled and sanded.

Slats are held in position with spacers.

Glue-Up
Glued-up the sides, seat & back. For the seat & back, glue was only applied to the spacers.

Dry fit to be sure it will go together smoothly.


The Seat

The Back

Right & left sides glued-up

Beveling edges

Sides, back & seat glued-up. Just need to add the arm rests and rockers.

Confession
I’ve made lots of mistakes along the way and have recovered from or covered-up most of them. So I’m not going to point those out. There is one, however, that I must. It was mentioned earlier that a lot of time was spent with the mock-up chair to get the balance right. The problem is, when I transferred the angles to this chair and put it together, it was out of balance. To correct this, I had to shorten the front legs and raise the back. To raise the back, walnut inserts were cut and fitted to the curve of the rocker..

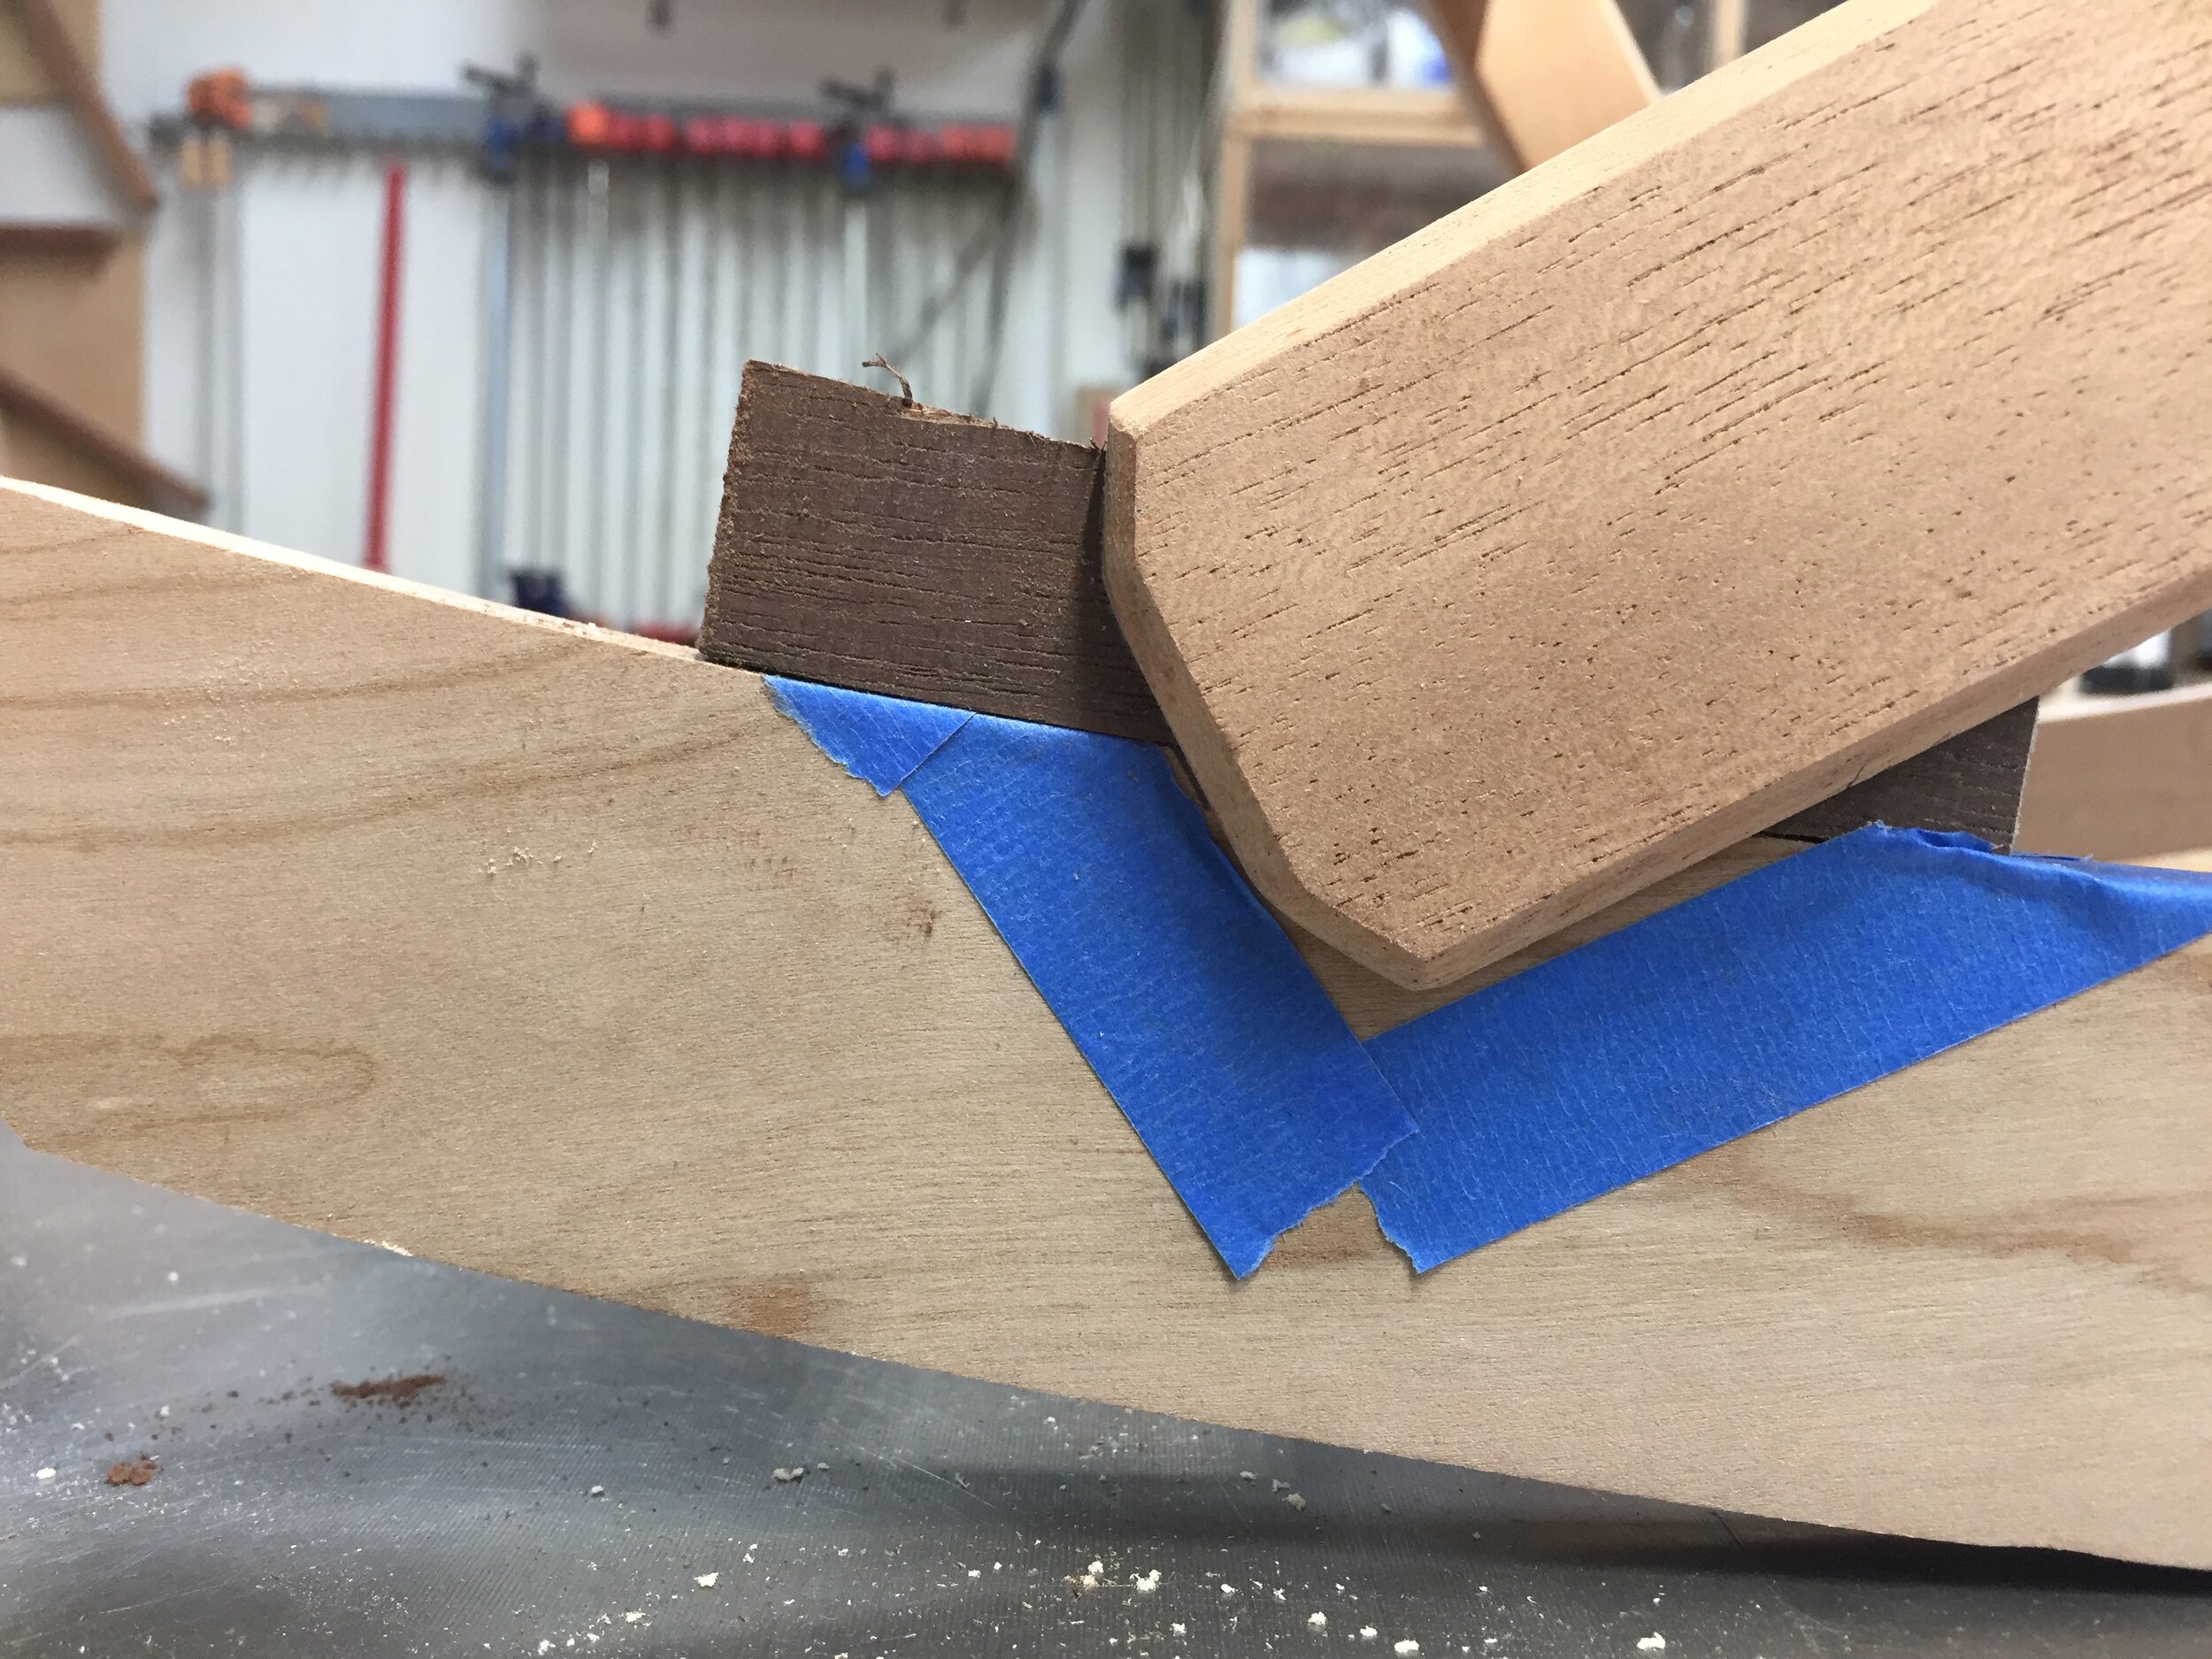


Gluing the rockers on
