The San Fernando Valley Woodworkers Club has been making wooden toys and donating them to charities that care for children, in various forms of need, for over thirty years. I’ve been with the club for ten years and for at least five of them have been on the team that builds treasure chests and a smaller box for older kids that we call the teen box.
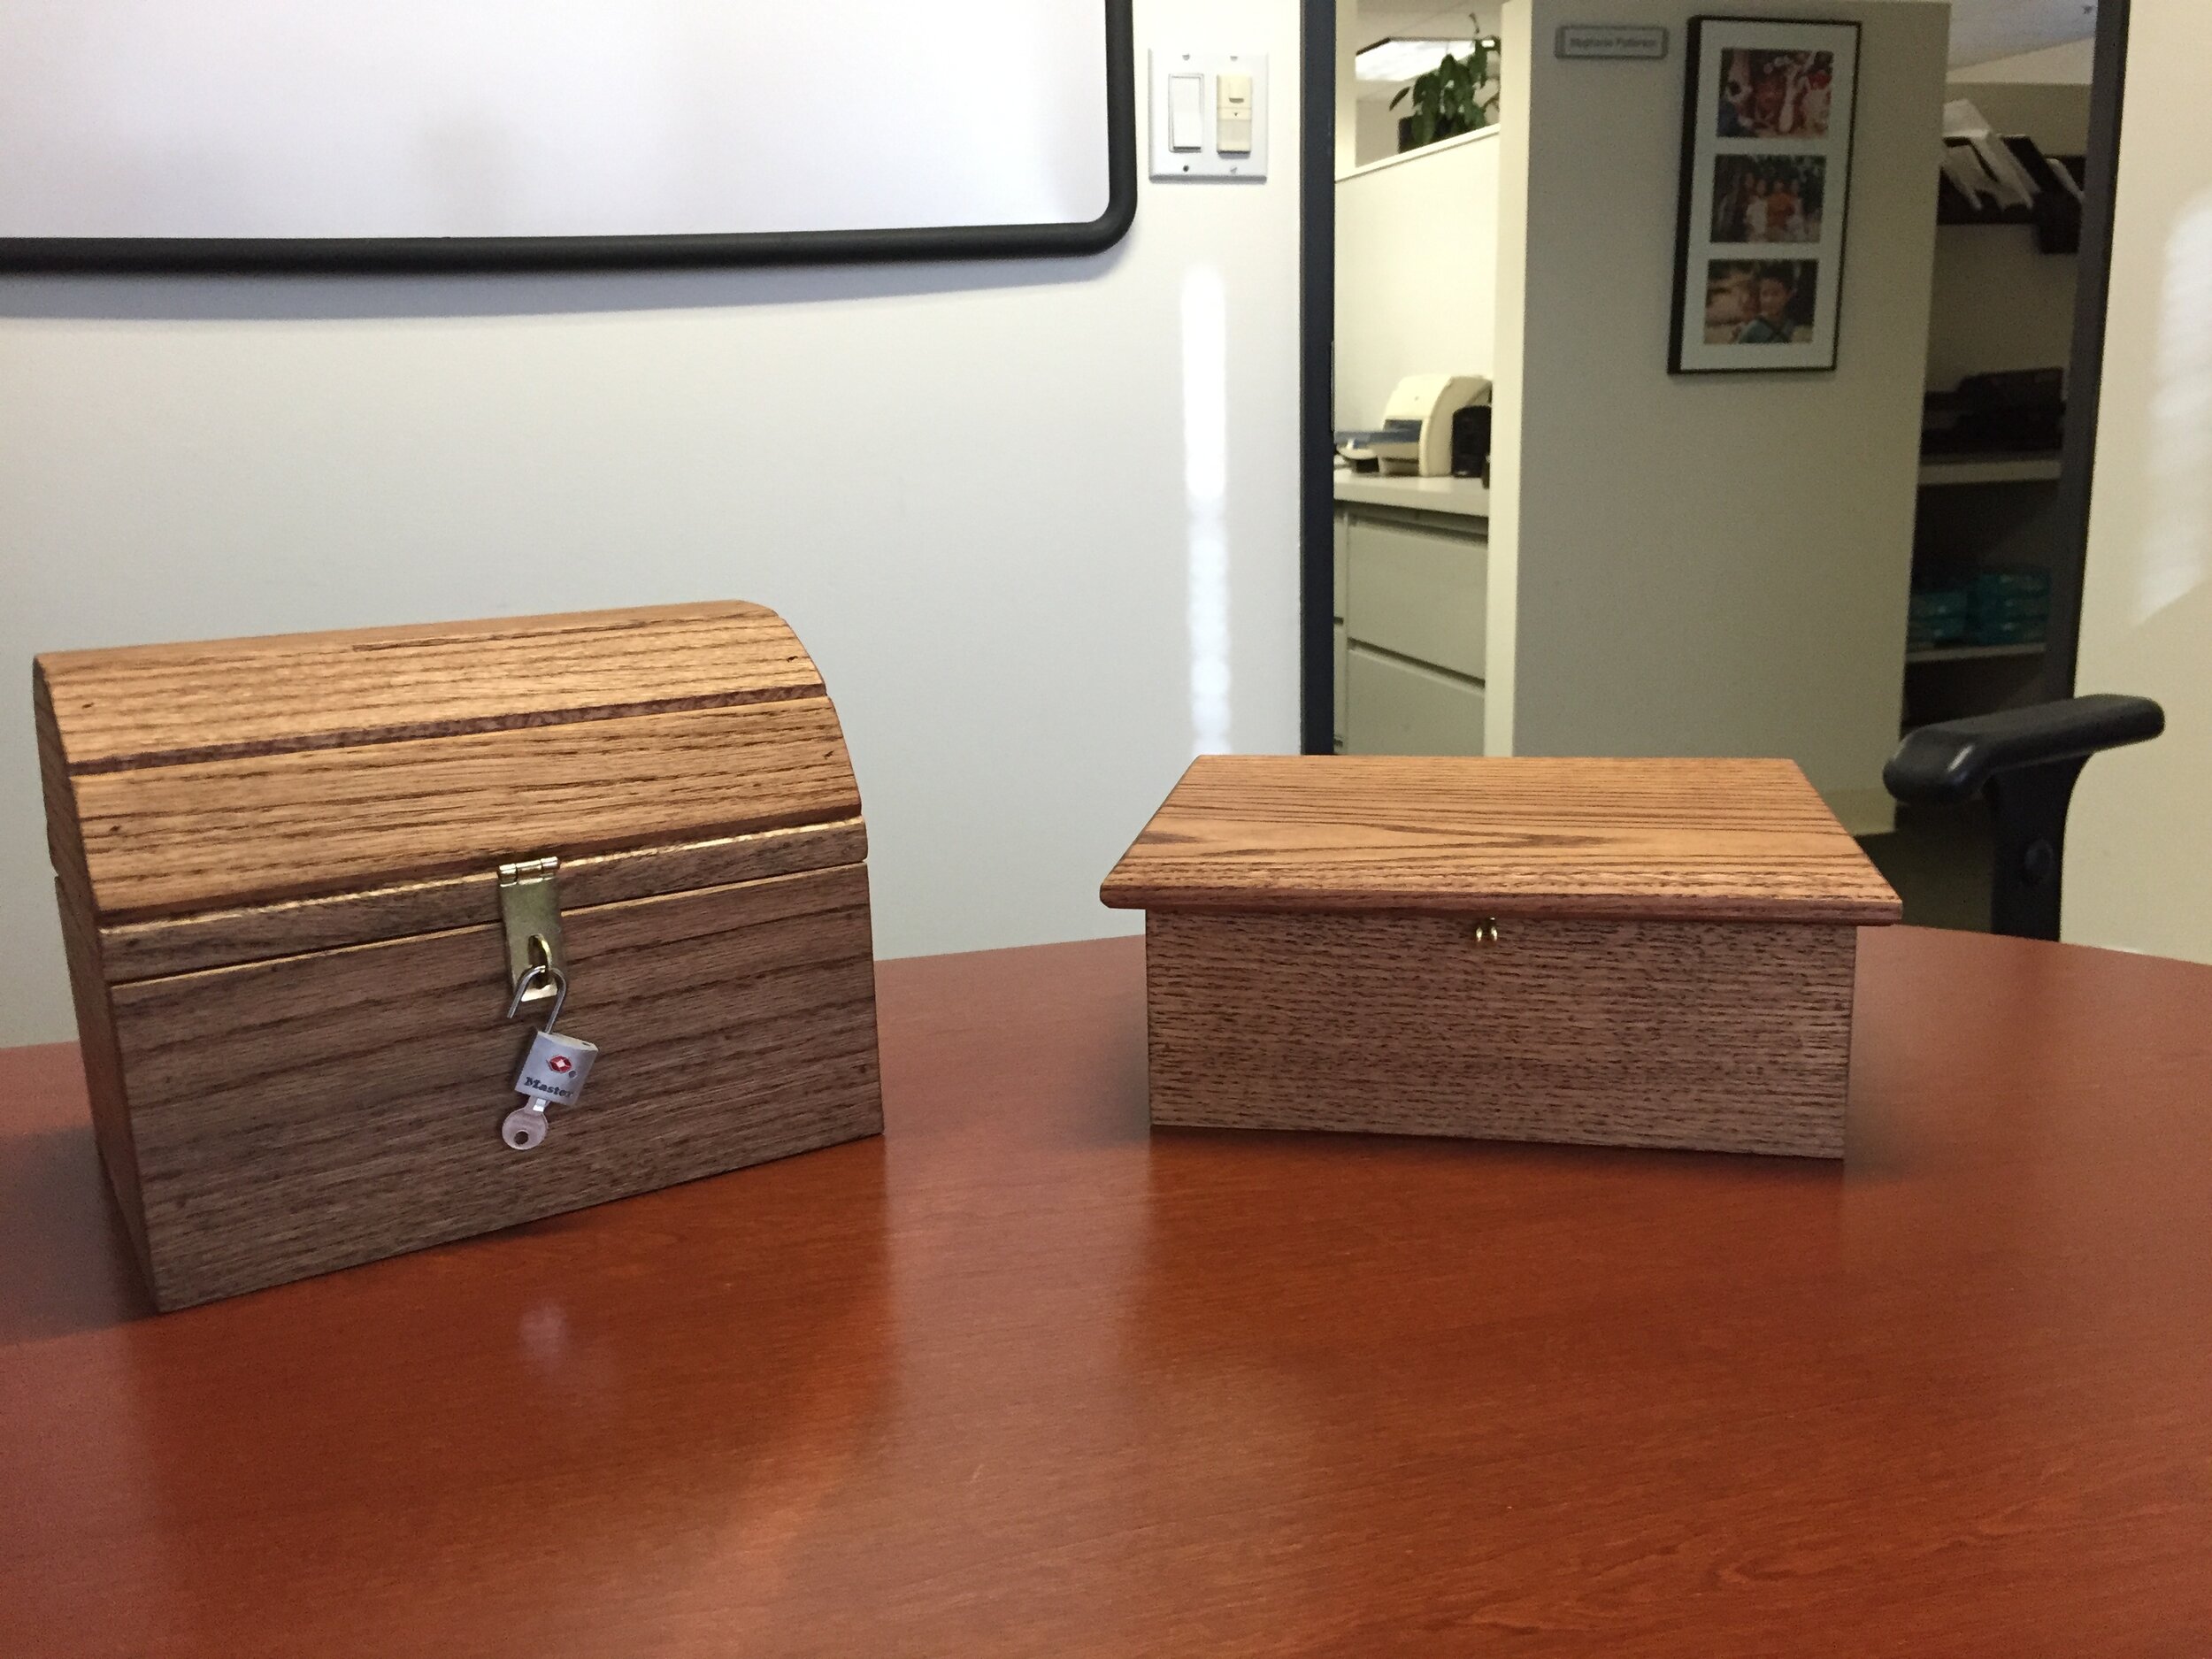
Treasure chest and Teen box. Both come with a padlock.
The design of the treasure chest (TC) has evolved and changed, to a greater or lesser degree, every year as we refine our processes. This blog, along with a set of detailed drawings, will describe the current process to build a TC.
Before jumping into the build, I have a couple short tales to relate:
PADLOCKS
The first year we built the boxes, we put padlocks on the TC only. Word quickly got back to us that the older kids wanted locks on their boxes, too. This may seem insignificant, but consider that many of these children are homeless or in transition and have little or no privacy. Being able to lock a box that holds their possessions is a comfort to them.
TEARJERKER
A few years ago, we received a request for a dozen TC’s from a woman who, we were told, works with troubled children. Apparently she had been getting the TC’s from another organization to which we donate, but something had changed and this was no longer happening. It was in the middle of the year and, normally, we don’t have any completed toys until November. So, a few club members got together and made a dozen for her.
One morning, another club member & I delivered the TC’s to this lady and we learned more about what she does and how she uses the TC’s.
She’s a psychologist who works with children who are dying of cancer or have a parent who is dying of cancer. Often, as patients finish their sessions with her, she gives them a TC as part of her closure process. And if the patient is a parent, they use the TC to hold the letters they’ve written for their children to open at various ages.
We were really touched and honored that a simple wooden toy we built could mean so much to someone, and in a small way, make a difference in their lives.
MOVING ON…
DRAWINGS
As with just about any woodworking project, the more accurate the milling of the parts the easier the assembly. Additionally, it can lead to less finish sanding. Part 2 of this blog will include a link to a set of detailed drawings of the TC.
THE JIGS
The TC’s can, and have been milled and assembled without jigs. The jigs were conceived, designed and evolved along with the TC design and construction. Some are as simple as a right angle glued and screwed to a piece of plywood and some are ingeniously designed.
I want to take a moment here to single out Jack Robbins for the amazing jigs he made for us. It’s easy to determine which jigs Jack built as they are described below.
Box Assembly Jig

For a jig to be useful, it does not have to be complicated. This jig’s purpose is to hold the box of the TC square as the front, back, sides and box-bottom are glued and pin-nailed together.
Lid Assembly and Milling Jig

This is a multi-purpose jig. First, it is used to hold and clamp the lid slats in place for glue-up and second, for milling a curved rabbet in the ends of the slats.
End Cap Jig

The end caps need an arc milled on them that matches the curve in the lid.
Hinge Dowel Hole Jig

A precisely placed hole is needed for the lid to open and close properly.
Final Assembly Jig

This jig holds the lid and box in an aligned position for final assembly.
Hasp Jig

Viewed from the opposite direction, the jig locates the holes for screws that hold the hasp in place.
The following blogs detail the steps we take to mill the parts and assemble the TC.